
Exporting data into MySQL database
To store the captured data into MySQL database you need to configure the DB Datasource. You need to do the following steps:- Select the agent that will export the data into the database by clicking it in the Workspace View.
-
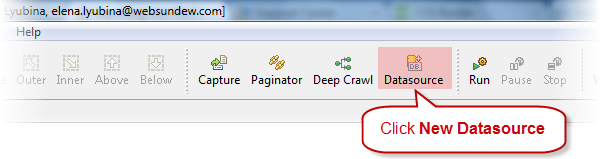
Click New Datasource
in the toolbar or in the program menu Agent / New Datasource
.
-
Select the Database
radio button.
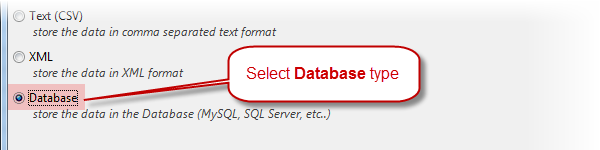
Click Next. - Select the MySQL driver.
- Enter the connection properties: Hostname/IP address of database server (default is localhost), port (default is 3306), user name and password.
-
Click the Connect
button. The program will be trying to establish the connection to the database. If the connection is established you will get the database's schemas list in the Schema Information
group.
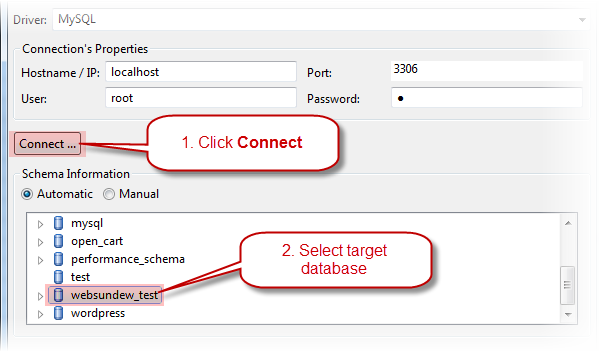
- Select the target database schema. Click Next.
- You will be asked to add all the tables from the database. Select yes (you can choose 'no' and add the tables later).
-
Match the table's fields and the agent's captures. Click on the <Select Capture>
to show the selection menu.
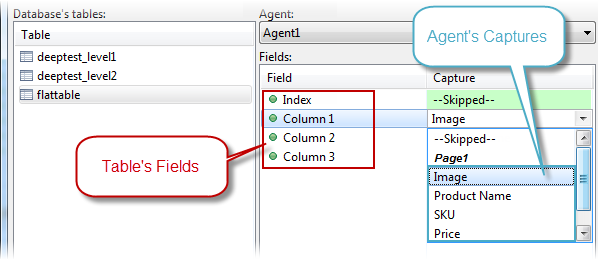
- Click Finish when all of the matches between the fields and captures are be set.
Hints
- Some fields must be skipped i.e. auto increment fields, fields with the default value. You need to select the Skip Field
- Use localhost as a host name to connect to the local computer
Page Modified 6/9/17 10:12 AM


